User experience is a driving factor in eCommerce because shoppers expect a certain level of efficiency and transparency when browsing online. Creating a site that is easy to navigate will enhance the user experience but displaying effective and compelling product imagery is a critical way to draw customers to your site and build an authoritative brand experience
Product photography should be consistent across all platforms—website, email and social media—to offer consumers a look at your individual products and provide context to help consumers imagine how these items would fit into their daily life. Follow these product imagery best practices to ensure that your eCommerce store is standing up to the competition.
Why Is Product Photography Important to Your Brand?
Utilizing high-quality product photography is essential to your company’s success, your consumer’s satisfaction and the professionalism of your business. Enlisting the help of professional photographers can increase the quality of the images, but many eCommerce business owners opt to shoot their product lines themselves. If you choose this option, you’ll want to make sure you master the proper techniques and best practices, especially since quality photography can boost your conversion rates and attract more customers to your site.
Required Equipment
If you’re planning to photograph products yourself, you should acquire the proper equipment and follow several best practices to capture responsive results. First, determine a good location for your photoshoot. You’ll want to find an area with good natural lighting as this tends to produce better images, but it’s wise to invest in at least one external light in case natural light isn’t available.
Here are the top items you’ll need:
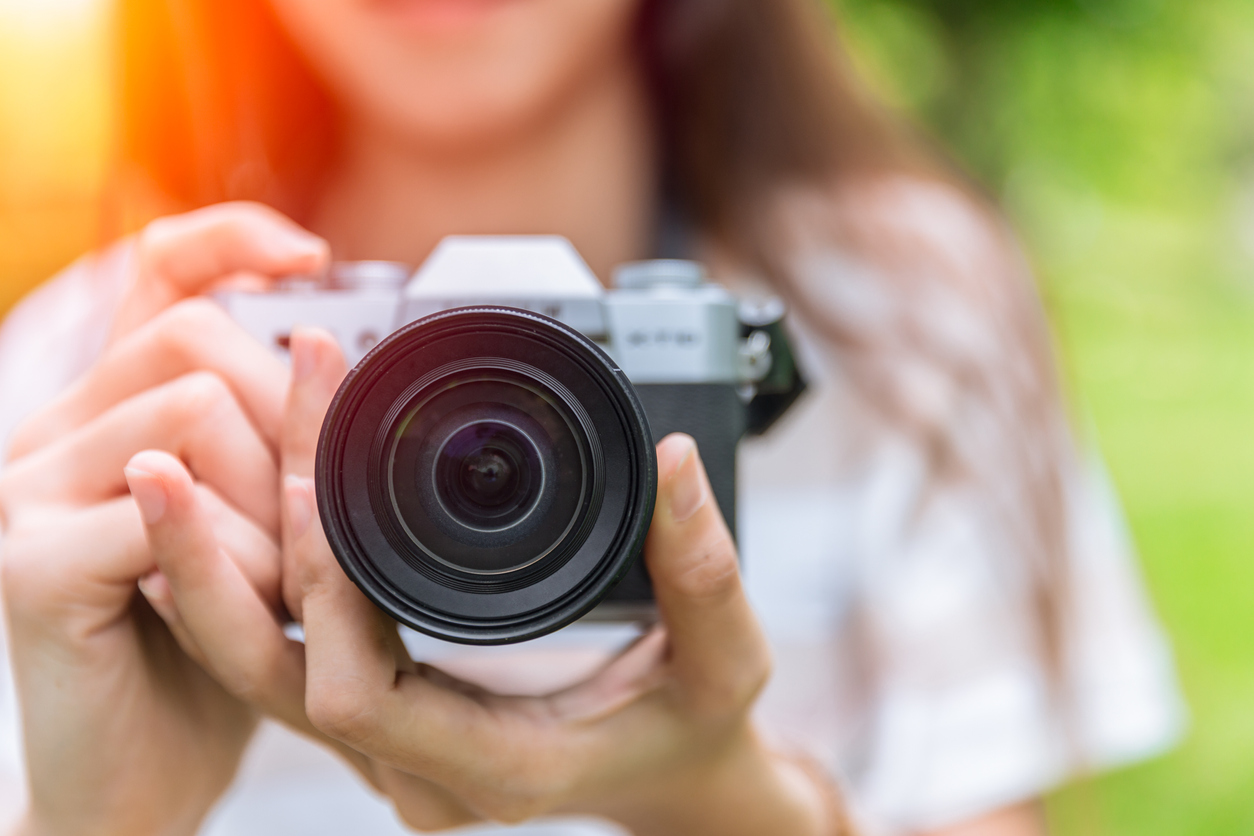
- High-quality camera or smartphone
- Tripod
- Small table to shoot featured products
- White background (should cover table and hang behind product)
- External photography lights
- Tape to hold background in place
Once you’ve assembled all the equipment, you can begin setting up your photography area. Move a table as close to the window as possible but be careful not to let any shadows fall across the shooting area. The closer the products are to the natural light source, the softer the light will be, so you may want to experiment with product positioning before you begin. Most photographers take still shots by placing the table at a 90- or 45-degree angle because direct sunlight can be too intense.
Tape the white background down to the table that you plan to place products on and then secure the white background behind the items. Turn off any lights in the room to ensure that only the sun is providing light.
Where to Use Product Photography
Product photography is the life force of your eCommerce business to help consumers view and experience the quality of your wares. Unlike traditional brick-and-mortar stores, eCommerce shops are at a bit of a disadvantage because shoppers are unable to touch or try on the merchandise. Most online consumers want to ensure the quality of products purchased online, so your website images are vital to providing consumers with the best possible user experience.
Once you have an edited series of product photos, you can display them across your marketing platforms. Incorporate them into your email marketing strategy and promote through social media to both attract customers and build a brand lifestyle. For social media, photographs of people wearing or interacting with your products are popular because it allows users to see the value of them in their own lives.
Enhance User Experience with These Photography Best Practices
Set Your Photography Budget First
Before investing in any photography materials, start by developing a photography budget. Determine how much money you can allocate towards this expense and decide which supplemental items your business can afford.
If you don’t already own a professional camera and there’s not much room in the budget for one, you may want to consider using your smartphone, which can produce quality photos to enhance the eCommerce user experience. The most expensive pieces of equipment are the camera and the external light, so consider other areas where you may be able to cut costs.
Photograph the Right Angles
Any amateur photographer knows the importance of angles when shooting any subject, and eCommerce product photography is no different. When photographing your product line, look for an angle that shows the full product and gets a sense of its true size.
Consumers shouldn’t have to click on a million images to understand the product. Adding a zoom feature can be helpful, especially if people want a closer look at a fabric pattern or a small feature on an item. Still, users should still be able to view the product clearly from a distance. Try taking photographs from multiple angles to create a 360-degree view of an item.
Use Multiple Images to Display Entire Product
Some eCommerce companies make the mistake of only adding one or two product images to a page. It helps to provide online shoppers with as much information as possible so they can determine whether a product is useful to them and of high quality. If you’re an eCommerce company selling clothing, feature several images of models wearing your garments and give consumers the opportunity to view the clothing from the front, back and side.
Video is another popular marketing tool, and more eCommerce companies are featuring short clips, especially for more complicated products that may require instruction. The more confident a user is in the product’s quality and usefulness, the more likely they are to buy.
Promote Product Images on Social Media
Social media marketing is the ideal platform to display your product photography, particularly images that feature your product in use. Social media channels also offer dozens of effective ways to advertise to users as well.
Before developing your social media campaigns, you should determine which outlet will bring in the most results for your business. Consider the demographics of your target audience—what is the average age, where do most of your customers live, what other interests do your shoppers share?
All of this information factors into how you will advertise to your market. If your demographic skews a bit older, you may want to put more time and effort into your Facebook marketing while a younger audience is more likely to engage with campaigns on Instagram.
Facebook advertising is perfect for targeting specific markets. You can narrow down your ad audience based on dozens of factors including age, interests and user engagement.
For best practice and great top eCommerce user experience, you can use carousel ads on Facebook to display multiple products to potential consumers. This is a great feature that can give people a more comprehensive view of your product line, making it more likely they will want to explore other items on your site.
Instagram is designed to showcase photography, so if you plan to use this social media network to promote your business, you’ll definitely want to follow photography best practices to ensure that your brand looks professional and attracts attention. The Instagram Shop feature allows merchants to post photographs of products and link directly to that page on their site so that consumers can make a purchase the moment they find an item that captures their interest.
For this type of advertising, it’s important to use photographs of people actually wearing or using your product. Instagram tends to be more effective at boosting conversions when users can see how products look in real life.
Editing Your Product Photographs
Before adding images to your site, be sure to edit them to ensure quality and clarity. However, try to avoid overediting them so they remain an accurate representation of your products. You can sharpen the brightness on a photo to give it a more professional look and enhance its features but always compare an edited image to the real product to ensure consistency.
If you’re adding product photos to your site that only feature the item against a white background, use Adobe Photoshop to remove the background. This will eliminate any minor shadows or other features that might reduce image quality. Outside a few minor adjustments, it’s best to keep the image as natural as possible.
Optimize Images for Your Site
Once you’ve captured the perfect images to display on your site and social media accounts, you’ll want to optimize these images to further enhance the user experience. Start by compressing the image size to ensure consistent formatting, dimensions, size and resolution.
Your images should look crisp, clear and high-quality but uploading too many large photos could slow down site speed, which can affect a great user experience. You can use the help of online image compression tools to resize your images. Consistency gives each product page a more professional look and lends credibility and authority to your online store.
Tips for Photographing with Your Smartphone
Though a professional camera makes it much easier to manually alter photograph settings, many eCommerce merchants use a cell phone to take product images. The quality of smartphone cameras has come a long way in recent years, and you can capture expert images that will enhance the user experience on your site. If you plan to use a smartphone, follow these tips to produce great photographs.
Do Not Use Filters
It’s best to photograph your product line without the use of a filter because you can always adjust the image during the editing process. Using filters can look obvious at times, and it may wash out the color and light that can balance out your photographs. Once you’ve finished shooting your products, use an image editing app to adjust the image as you see fit.
Let Your Phone’s Autofocus Feature Help
Nearly every smartphone camera has an autofocus feature to help users zero in on the subject of the photo. Whether you have an Apple, Google or Samsung phone, familiarize yourself with this feature and practice using it a few times before you begin your product shoot.
Use an External Light Over Phone Flash
Never use a smartphone’s flash feature when shooting professional photography. If you feel like the room is too dark, try adjusting the light or angle of the camera. Built-in camera flashes often cause discoloration and unwanted reflections in product photography.
Download Apps to Manually Control Photograph Settings
One of the main advantages of a professional DSLR camera over a smartphone is the ability to manually adjust settings including exposure time, aperture and shutter speed. Fortunately, many phone apps now will allow you to also adjust some of these settings on your mobile phone.
Familiarize yourself with basic photography settings and then download one of these apps to test the waters. Experiment with several test shots with different settings to find the right balance for your product images.
~
In the thriving world of eCommerce, online consumers are drawn to product images the same way they gravitate towards a display in a retail space. Mastering the art of product photography is essential to driving conversions, customer engagement and expanding your brand blueprint online. With the right imagery, you can produce images that turn site visitors into lifelong customers.